External IDE
Engine can work with either Code Editor or an External IDE.
Code Editor is the recommended solution due to its extensive list of advantages.
If however you prefer to use an External IDE, then please read on.
Installation
Installation of an External IDE is covered in here.
Creating a New Project
Since configuring projects in External IDE's requires setting of several properties, the best way is to let Engine Editor do that for you.
- Open the Engine Editor
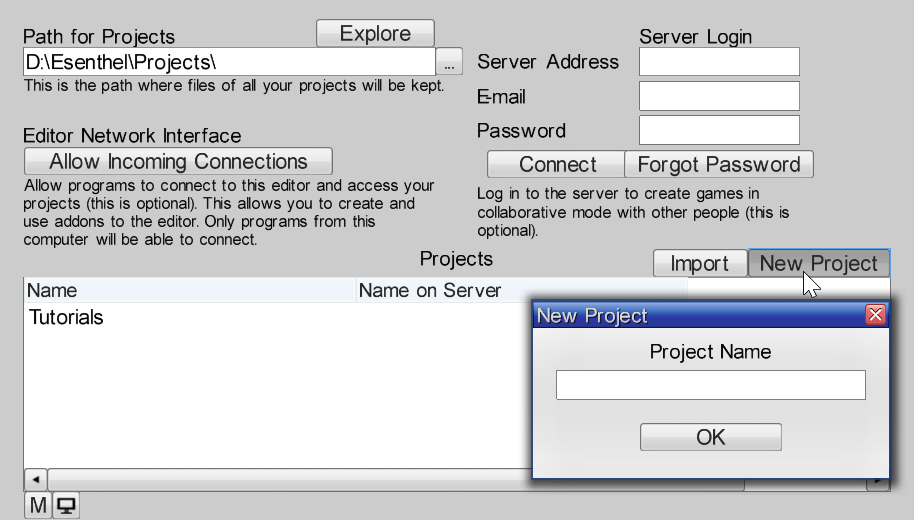 Create there a New Project if you don't have one yet
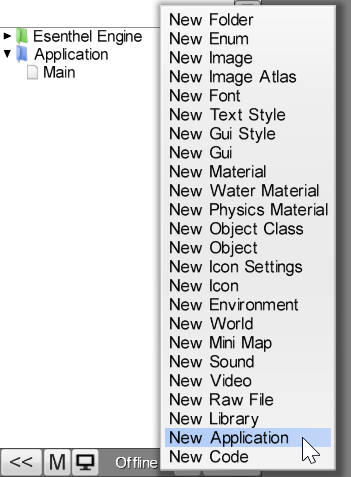 In that project, create a new Application
 - Make sure that it's active - if you have multiple Applications in the Project, simply click on the checkbox next to the Application, or if you have just one Application in the Project then you don't have to do anything
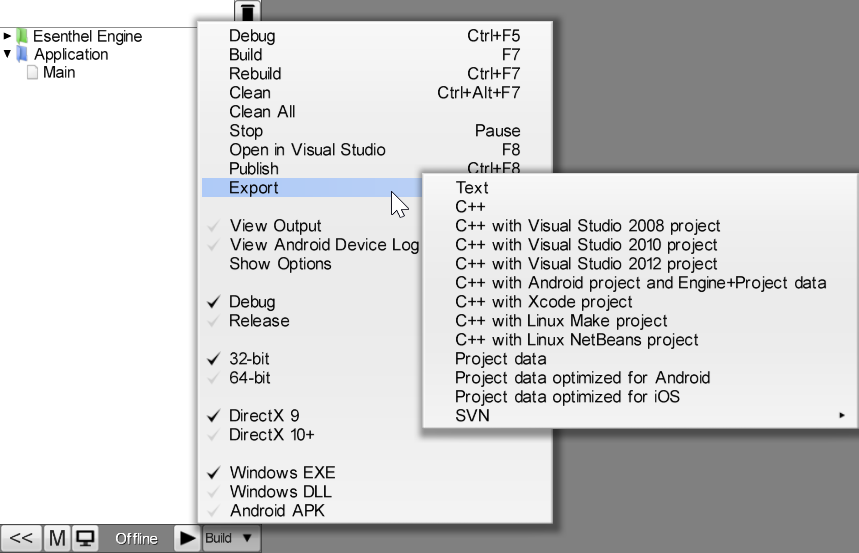 Select the "Build\Export" menu, and export the Application to your IDE of choice (Visual Studio for Windows, Xcode for Mac/iOS, NetBeans for Linux)
 In this example we've exported to Visual Studio project, which will have all of its configuration already setup and ready to use
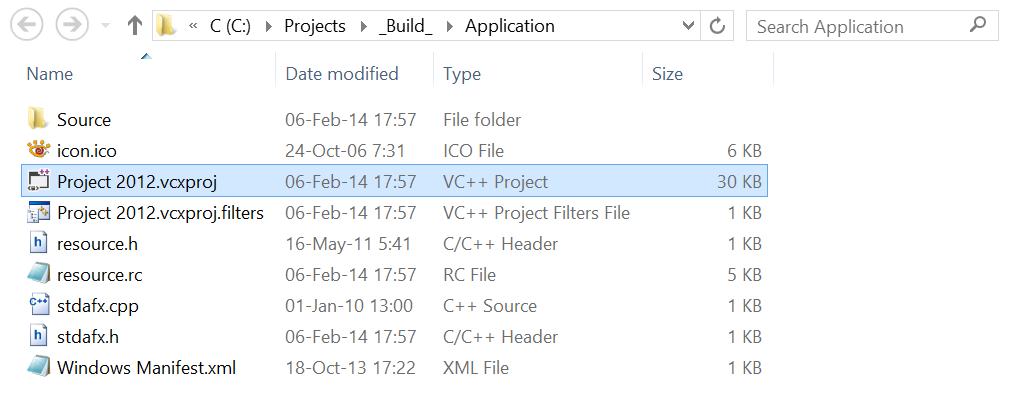
- It is very important to note that the project has been exported to a temporary "_Build_" folder, which may get deleted in the future, therefore we now need to move this project into a different location, to avoid accidental data loss when working with this project
- Let's move the "C:\Projects\_Build_\Application" folder, outside of "_Build_" and outside of Engine folder too, for example into "C:\Projects\Application" or "C:\Application"
- Now let's open this project by double clicking on the "Project *.vcxproj" file
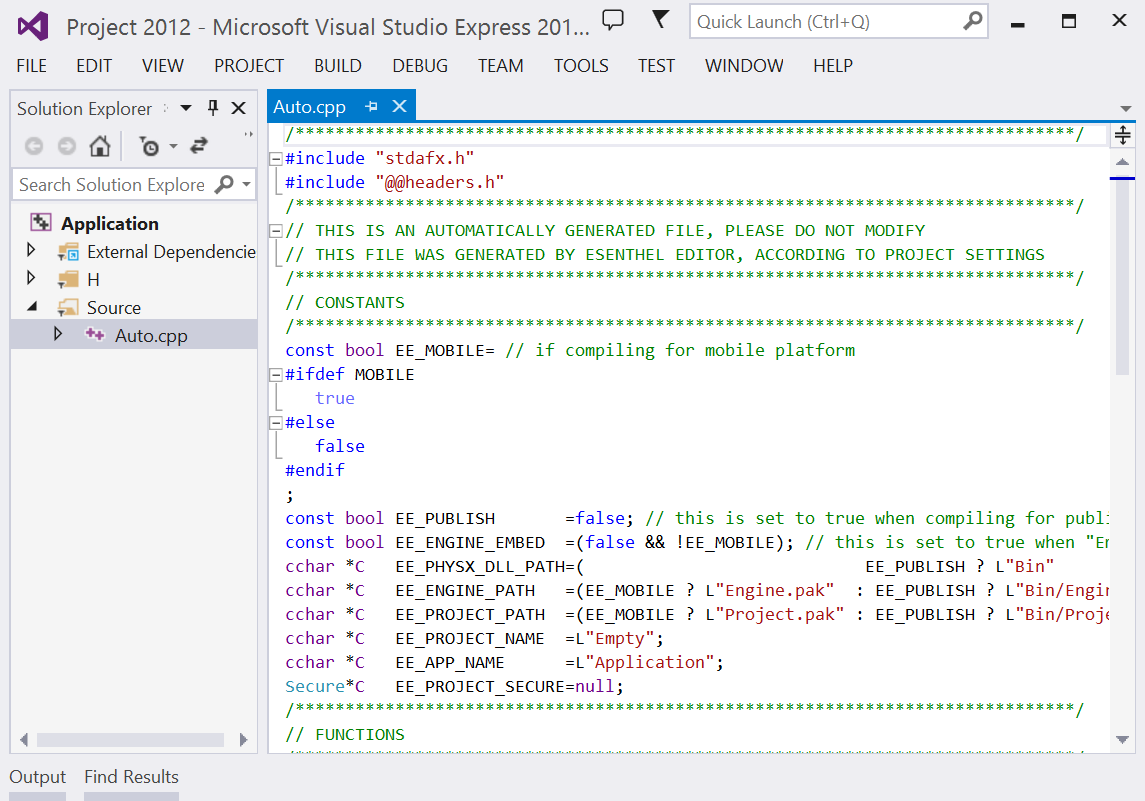 The project will get opened in Visual Studio
- You can notice that there's already one C++ file present, which contains some configuration settings
- For development you may want to change the 'PUBLISH' value to false, thanks to which paths to the Engine and Project files will be taken directly to the Editor folder and your Project folder. Once your project is ready for release, you should revert the 'PUBLISH' to true, so that paths are set to your Application folder.
- You can now add more C++ files and start coding!